How Do I Update SoftLINK to the Latest Version?
Download PDF: KB0212
Summary
SoftLINK is updated from time to time to provide new features requested by customers, enhance existing features, or to fix bugs that have been found in the software. When you are alerted to an update, it is recommended that you deploy the latest version at your earliest convenience to guarantee that you are experiencing the best performance that SoftLINK has to offer. Please note some releases of SoftLINK require a license update. If you are currently covered by a maintenance contract, you are entitled to all new releases and revisions. Customers that have chosen to opt out of the maintenance contract will need to purchase a new license or resume their previous maintenance contract to obtain the latest SoftLINK release.
Details
SoftLINK can be updated on your workstations two different ways. The installation can be done at each individual workstation or it can be done using the SoftLINK Class Control Deploy utility. Follow your preferred method using the directions below.
Update SoftLINK Locally at Each Workstation
- Download the latest version of SoftLINK using the link provided by your sales representative.
- Copy the installer to a location that is accessible by all of your computers. You can use a shared network drive or use a thumb drive.
- Launch the installer on the workstation.
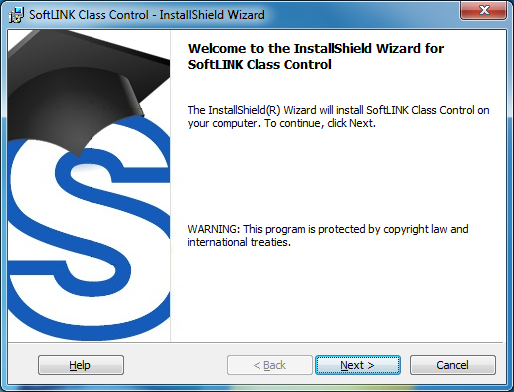
- Select Next on the Welcome screen.
- Accept the License Agreement and select Next.

- Select the proper components that you want to install. During an update, all of the previously installed components will be selected so unless you want to change what components are installed simply select Next.

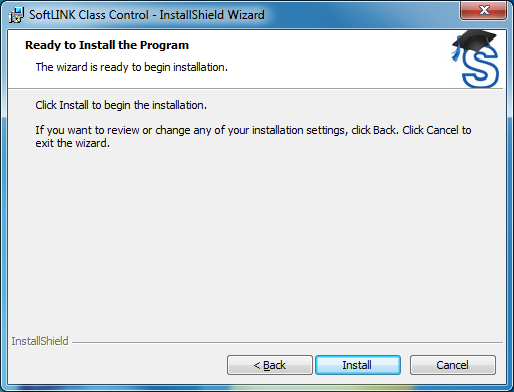
- Select Install.
- Select Finish when completed.

- Repeat the process for each workstation in your training room.
Update SoftLINK Centrally Using the Deploy Utility
- Install the latest version of SoftLINK on the workstation you intend to deploy SoftLINK from using the steps from the section above. NOTE: Be sure to have the Tech Console selected as well as any other component you would like during the install.

- Once the installation is complete, navigate to and launch the SoftLINK Class Control Deploy utility.

- Once open, you can view your workstations either by Microsoft Windows Network or by TCP/IP Network. Select the desired view. During this example we will be using the TCP/IP Network view.
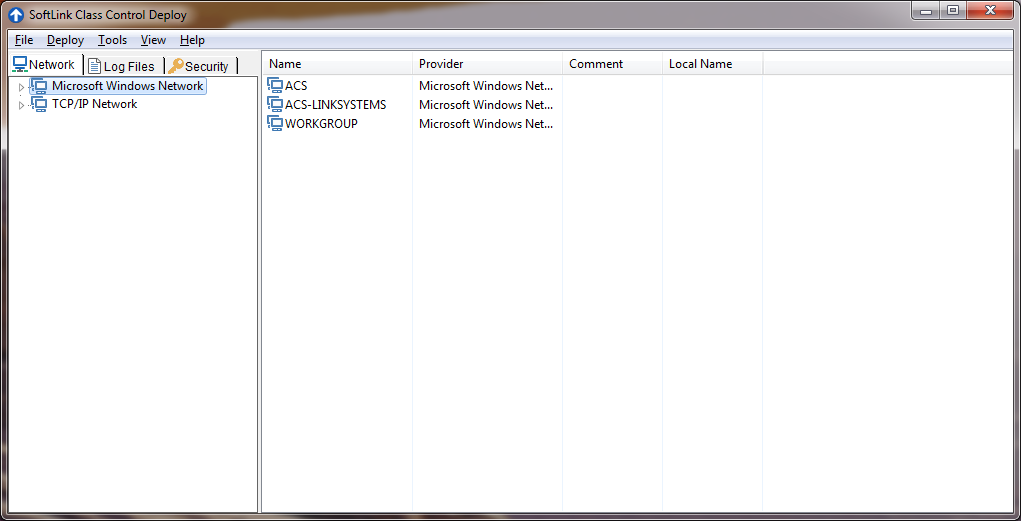
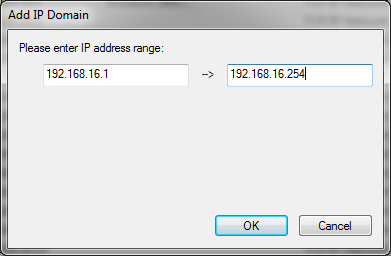
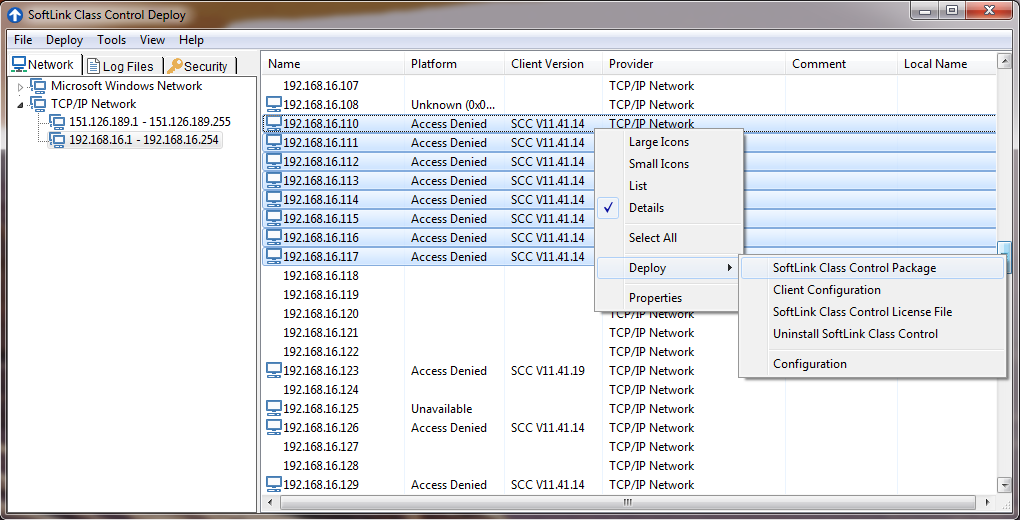
- Select the IP address range of the workstations you want to install SoftLINK on. If no IP address ranges are listed, select the Tools menu and select Add IP Domain. Enter the IP address range you require and select OK. This will result in a view similar to the one below.

- Select and highlight the workstations you wish to deploy SoftLINK, right click and select Deploy SoftLINK Class Control Package.
- Select Properties in the Deploy Summary window. This will open up the SoftLINK Class Control Install Properties Window.

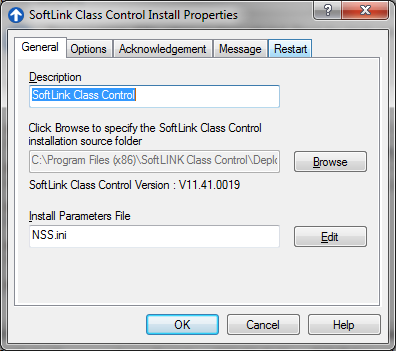
- Browse to the installation path for SoftLINK. You can also create additional folders, each with a different license file, install parameters, etc, allowing you to have a customized deployment package that is customized for each classroom in your organization. The default installation path is C:Program Files (x86)SoftLINK Class Control.
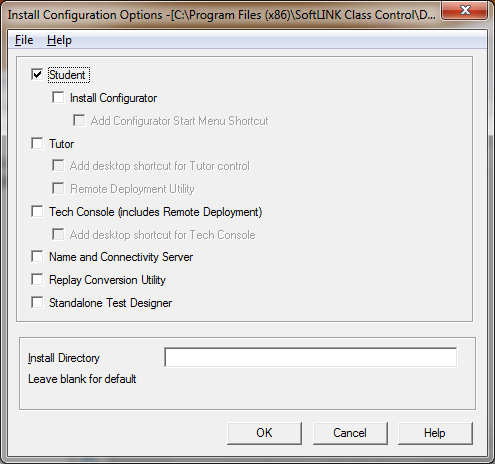
- Select Edit to edit the SoftLINK components that will be deployed to the workstations. When you have the proper components selected, select OK.
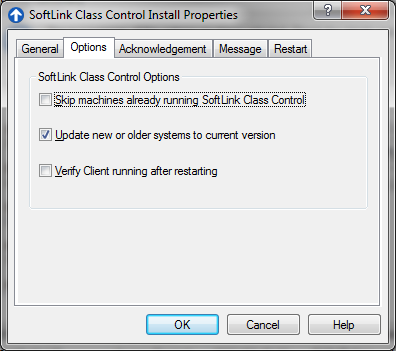
- You can now view the other four tabs in the SoftLINK Class Control Install Properties window to customize the installation process. First select the Options tab. Be certain that “Update new or older systems to current version” is selected. Choose any other option that you would like.
- Select the Acknowledgment tab. Choose how you would like the SoftLINK installation to occur.

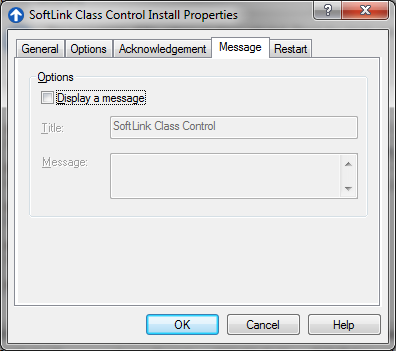
- Select the Message tab. Choose whether you would like a message to be displayed to the user, and if so, enter the message here.
- Select the Restart tab. Choose if you want a restart to be required or if the user can postpone the restart. Select OK.

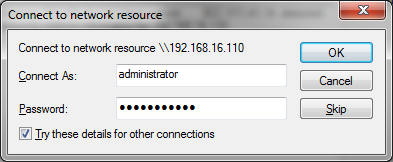
- Select the Deploy button. When prompted, enter the administrator username and password for the workstations that SoftLINK is being deployed to. Be certain that “Try these details for other connections” is checked to prevent you from entering the login credentials for each workstation.
- A Log will be displayed showing the progress of the deployment. Select Close when the deployment has completed. Repeat the entire process to deploy SoftLINK or it components to additional workstations.

To contact Applied Computer Systems, Inc. technical staff for assistance with your deployment, please call 1-800-237-5465.